Having a grinder is one of the sure things of making yo […]
Having a grinder is one of the sure things of making your work in the kitchen easy. Having a grinder is one thing and using it is another. To use the grinder with ease, you need to know how to set it up. Assembling manual grinders is not that easy. You need to follow one step after the other to ensure that you are getting it right.
Steps To Follow When Assembling The Meat Grinder
Step 1
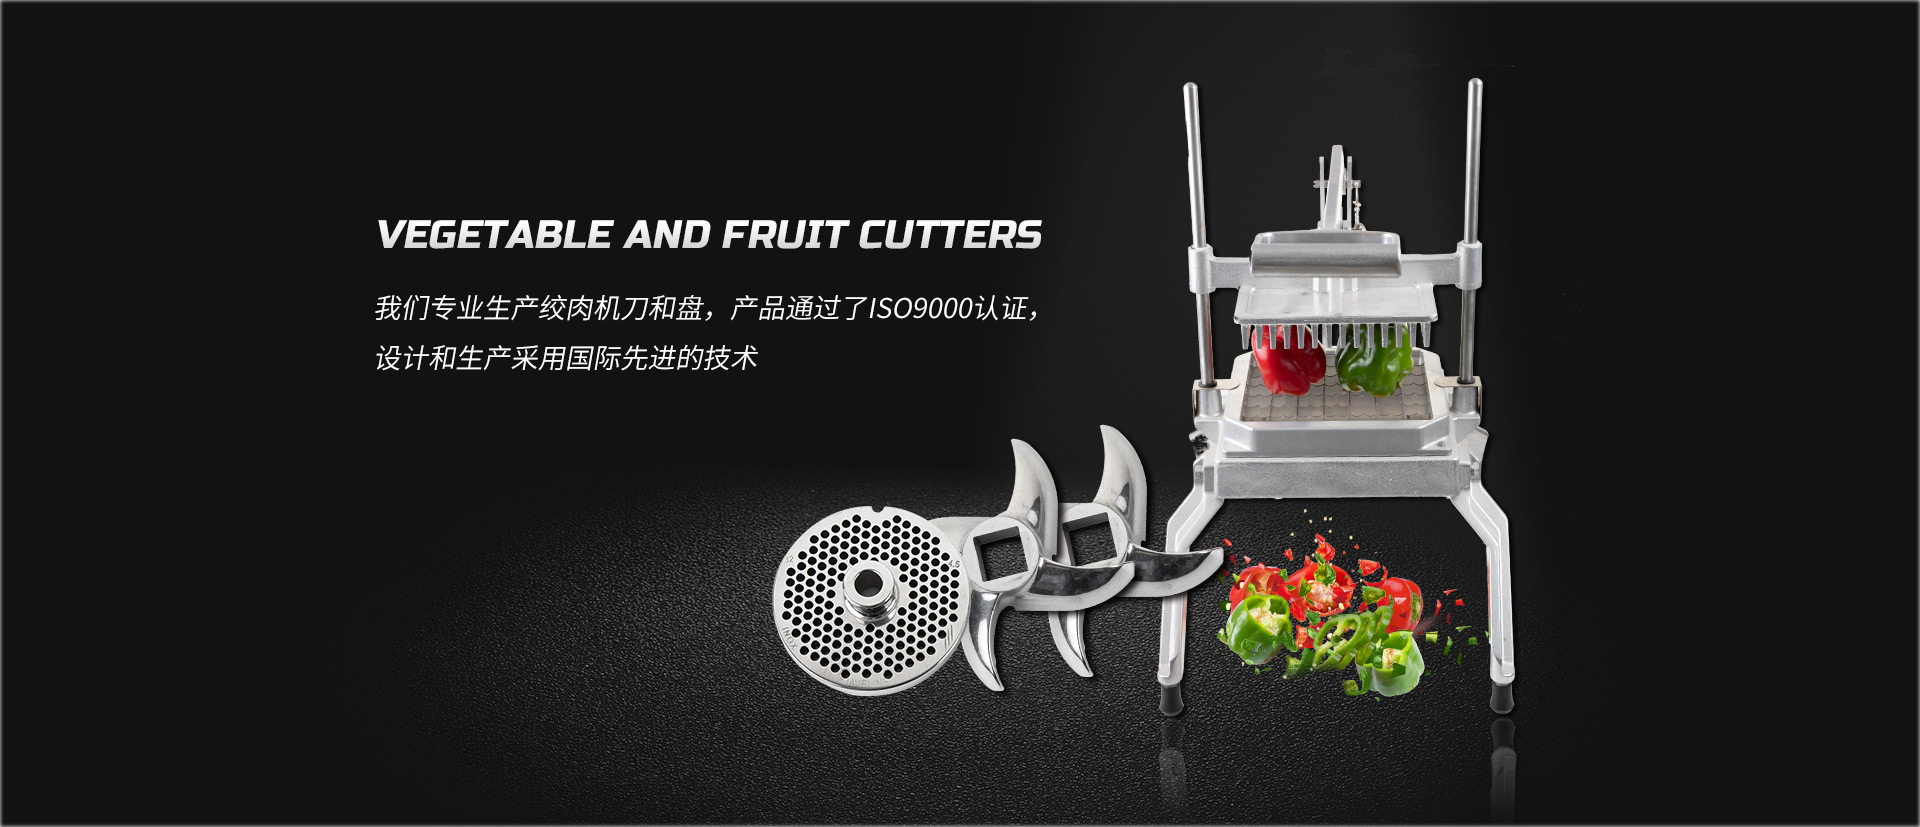
First, ensure that the grinder parts are clean and free of rust. They should also be dry and ready for use. The blades also need to be sharp if you want your work to be easy. Grinders are of different brands. This means that their parts may vary. However, there are general parts. These include; the main body, handle with a feeder, metal plates, cutting blades, a nut and collar. All these parts need to be fitted to ensure that the grinder is working.
Step 2
The second step is placing the handle into the main body. This handle should be fitted in such a way that it will turn freely. If fixed inappropriately, it will have a lot of rubbing. This rubbing impedes the grinder’s grinding and extruding action. This can also damage the working surface or injure the person using the grinder.
Step 3
Thirdly, the screw-like part of the handle will be seen to protrude. This is where you will fix the cutting blade and the extrusion plate. Always ensure that you have the right extrusion plate for your grinder. The size of the holes in this plate determines the quality of ground meat you are getting. The smaller these holes are the finer your meat will be. Today, we have newer grinder models that come with a shorter mounting bolt. This bolt holds the cutting blade and the extrusion plate. This bolt is longer in old models with the plates being held by a wing nut or hex nut. In these models, there is only one cutting blades and the extrusion plate is absent.
Step 4
The fourth step includes mounting the grinder onto the work table. This work table should be strong and stable. Use wedges to secure the grinder on the underside of a counter or table. These wedges should be 1 or 11/2 inches thick. This thickness is very important in keeping the grinder in place. If the grinder is not secured on the counter, it can move about when grinding. This can make grinding difficult or uncomfortable. With the grinder secured on the table, grinding can commence.
Step 5
The fifth step is disassembling the grinder. After using the grinder, you will need to disassemble it and prepare it for storage. Unlike electric grinders, manual grinders are easy to disassemble. You just need to reverse the assembling process. Care needs to be taken when handling the cutting blade. This bade is not only sharp but is also dangerous. It is designed to cut through tough game meat. This means that it can cut through your hand with ease. Always be careful with the blade.
Step 6
The sixth step is cleaning the grinder. You may have cleaned all the parts before starting the assembling. Yet it is advisable that you clean the grinder after using it. The grinder can get dirty during the grinding process. This cleaning should be done with warm soapy water. Wash it thoroughly and dry each and every part of the grinder. To maintain the parts for a long time, always coat the grinder with a light coat of oil. You can use cooking oil for this purpose. The oil prevents the parts from rusting.
Fenghua Zhuoyue Metal Products Co., Ltd. is a professional company manufacturing food machinery and components. 15 years of quality work, leading industrial competence and committed Zhuoyue people have resulted in Chinese competitive meat mincers, grinders, chopper knife blades and plates.